Lesson 5: Table of Elements
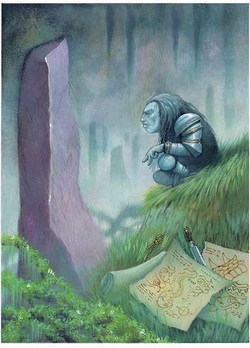
Trading Card: Neutelpro
Artist's name sought

Lesson notes from YTA Founder: In this lesson I begin to discuss the make-up of our universe. Strange how anything new in our environment rapidly draws our interest, but for things we are used to seeing every day, as amazing as they might be, we usually pass them over. For this lesson I have the students stop and think about some of these "ordinary" things.
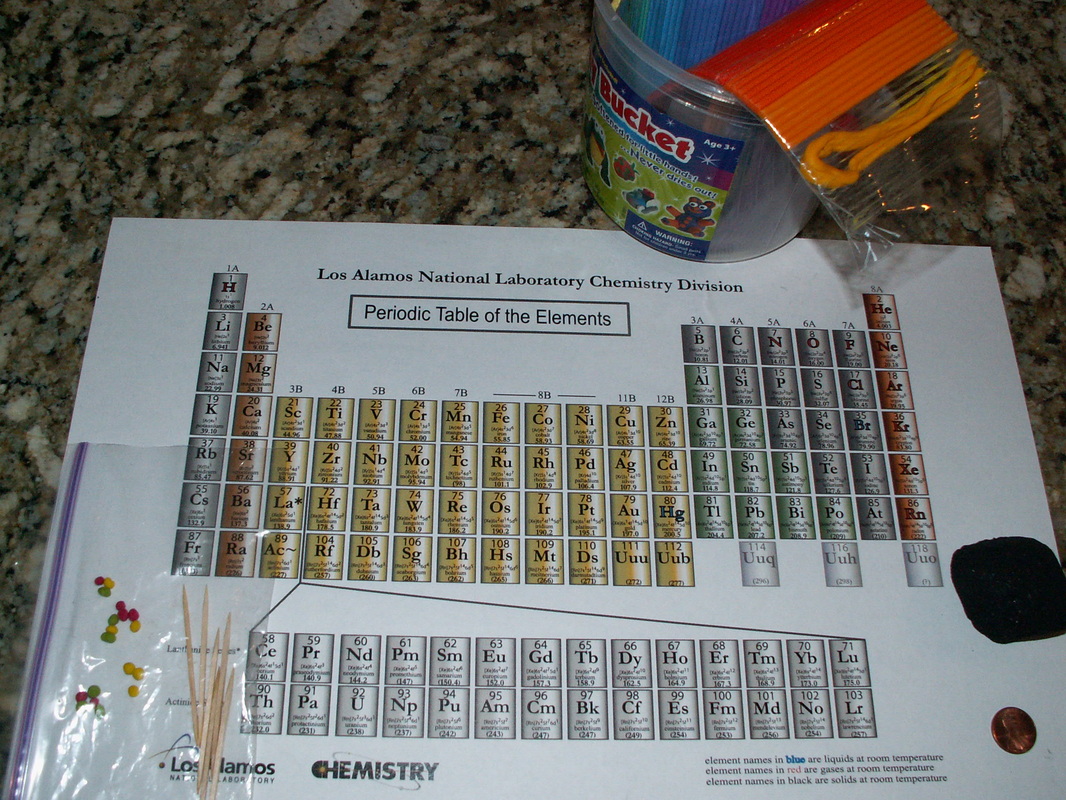
Before the lesson begins I hand every child a copy of the Table of Elements (see lesson supplies picture below). I print the table on tabloid paper because the students really appreciate having their own big copy, and some students have hung it up as a poster on their wall following the lesson. I start the lesson discussion by asking the students why the objects in their world look and feel different? What makes the colors, the texture, and the hardness of objects different? I eventually focus the discussion on two objects; a piece of charcoal and a piece of metal, usually a penny, which is mostly zinc if made after 1983. After some discussion, and some thinking, we conclude that something that makes up the objects must be different.
So what is this something? I encourage the students to give their ideas, and perhaps some of them already know the word, but regardless we eventually come to the statement that all matter is made up of elements or atoms. These atoms all have a nucleus containing two different types of particles, protons and neutrons, and electrons spinning around the nucleus (At least that is how we picture it). I draw an illustration on the board to help them visualize an atom, having the students note that a real atom is much smaller than my model. I stress that models are frequently utilized in science to help us think about something that we cannot sense. Although the models are not real, if people find that they do in fact help them understand things that are real, then people will keep using the models.
I next discuss some information reported on the Table of Elements for each element: the Symbol, Atomic Number and Atomic Weight. I explain to the students how the Atomic Number and Weight are related to the number of protons, neutrons, and electrons that make up each atom. I select a few children to take turns explaining the number of protons, neutrons and electrons in different elements (other than Carbon and Magnesium) up at the white board or writing surface.
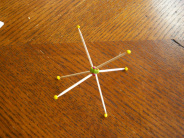
Then the students build a different model of the atom. I tell them to make carbon atoms by modeling it using clay of 3 different colors and toothpicks. YTA Instructors should free to use different modeling material if preferred. After the students have made their carbon atoms (see picture below), individually or as part of a group, all the carbon models are placed on one table. I ask the students what all these carbon atoms bunched together make, and eventually tell them it is charcoal. I ask the children whether the carbon atoms in charcoal are much smaller than their models and how many carbon atoms are in a piece of charcoal. When I explain that there are a trillion-trillion carbon atoms in a piece of charcoal, we try to get a feel for the size of this number by talking about how many times we could go to the sun and back by stacking a trillion-trillion toothpicks on top of each other (150 billion times). So atoms are very small indeed to have so many in a piece of charcoal.
We then turn back to the Table of Elements and I ask the students to describe the atoms of the other object we looked at in the beginning of the lesson (zinc in a penny), and write the number of protons, neutrons and electrons in a zinc atom on the board. Guiding the discussion, the students are encouraged to hypothesize about the source of the differences between what we sense as a piece of charcoal and a penny. Eventually we conclude that although the atoms both have a nucleus with electrons spinning around, the atoms for two different elements create something we see as different, because the number of protons, neutrons, and electrons are different.
Next we perform nuclear fusion by fusing 2 of the carbon atom models created by the students above. More than 1 pair of carbon atoms can be fused by different students if available. After fusion of 2 carbon nuclei, and placement of the 12 electrons onto the fused nucleus, I ask the students what they have made. Have the students note the Atomic Number and the Atomic Weight of this new Element, and then utilize the Table of Elements. In determining how much help to give, the YTA Instructor has to have a feel for how well the class is understanding the material, which will differ from class to class. The important thing is to give as many students as possible the chance to explain, the chance to think.
At the end of the lesson I stress that it is the number of protons that determines the element. I then give different students random numbers of electrons, protons and neutrons, and ask for the name of the element I have created.
Lesson 5 Plan
| table_of_elements.pdf | |
| File Size: | 201 kb |
| File Type: | |
Lesson 5 Trading Card
| lesson_5_trading_card.pptx | |
| File Size: | 1900 kb |
| File Type: | pptx |
Lesson 5 Handout
Try to print this handout in landscape format, on tabloid paper
| table_of_elements_handout.pdf | |
| File Size: | 595 kb |
| File Type: | |


